Shared Email Templates for Microsoft Outlook
How to personalize your team signature
Heads up! We're moving the Shared Email Templates for Outlook documentation to our new site: email-templates.app. The new version will be ready soon, and we hope you'll love the fresh, improved experience. Thank you for your patience during this transition.
One of the features that Shared Email Templates for Outlook offers is team signatures. They automatically appear in the message body when you paste a template from the corresponding team folder. But is there a way to make your team signature change depending on who is pasting the template? Sure, there is.
A few things before you start
Creating a personalized team signature begins with a little preparatory work. Just decide what personal details you'd like to include in the signature, and then edit and add properties for each team member.
For example, you'd like to see a user's full name, job title, email address, office address, and social networks links. Adding a user’s photo, along with a company's logo and banner, would be a good idea, too.
How to make your team signature pull a user's details
To customize a user's full name, job title, email address, and office address, replace them with the ~%Insert macro. Select the info you'd like to be changeable and click Insert macro:
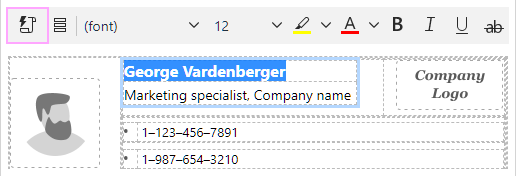
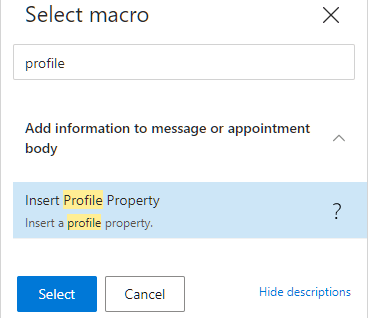
Select Insert Profile Property:
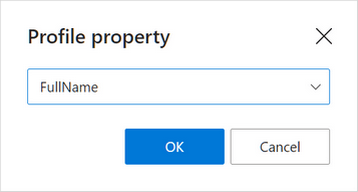
Then choose the corresponding profile property:
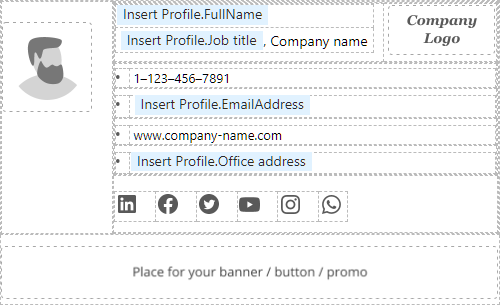
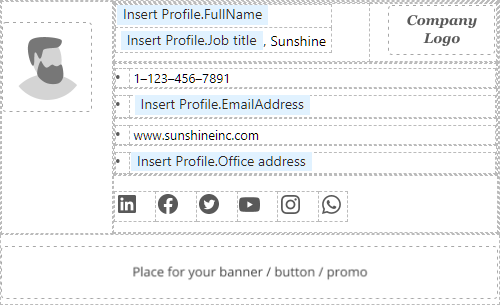
Once you replace all the personal info with the macro, the signature will look like in the screenshot below:
What to do with your team's details
As for the information that is the same for all your team members, for example your company's logo, name, phone number, and website, there are two ways to add these details to your team signature.
Fill in the information manually
Simply type in the company's name, phone number, and website:
Get the company's details filled automatically
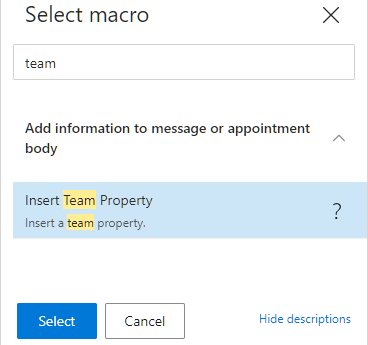
Add these details to your team properties and use the ~%Insert macro to pull them:
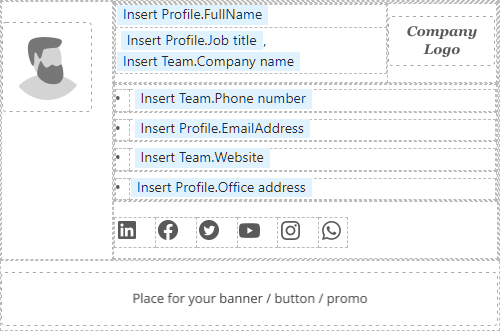
After all the macro placeholders are in the right places, the signature will look like this:
How to add photos or pictures to your team signature
To make your team signature catchier, complement it with a user's photo, the company's logo and banner.
Add a picture using a default option
The built-in signature options offer you a possibility of inserting a photo, a company logo, or a banner, from OneDrive, SharePoint, URL, or your device, using one of the icons shown in the screenshot below:
![]()
However, if you use this method, you will get the same picture for all the team members.
Add a picture via a user's or team's properties
To get a picture that will change for each team member, add it to the user's or team's properties. You can do that with the ~%Insert macro. Just follow these steps:
- Run Shared Email Templates.
- In a new template, click the Insert macro icon.
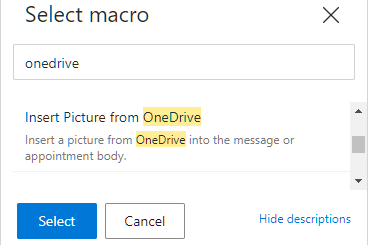
- Say, the images you'd like to add are stored on OneDrive. In this case, select Insert Picture from OneDrive:
- Select the image you need.
- Fill in the boxes of the Insert picture dialog if necessary.
- Right-click the macro placeholder and select Copy Macro Text to Clipboard:
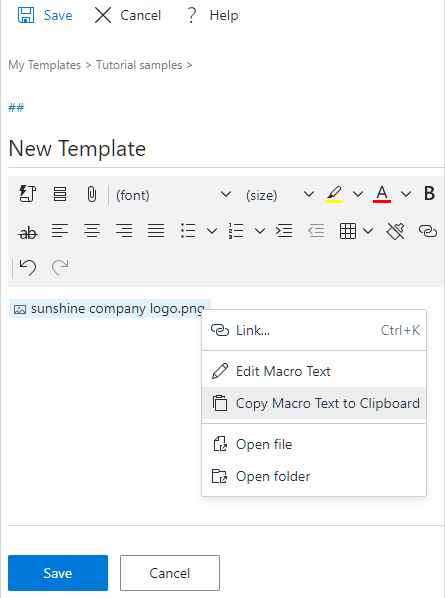
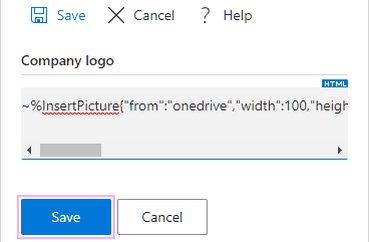
- Paste the copied macro text into the Value box of the property you're adding (profile or team) and save it:
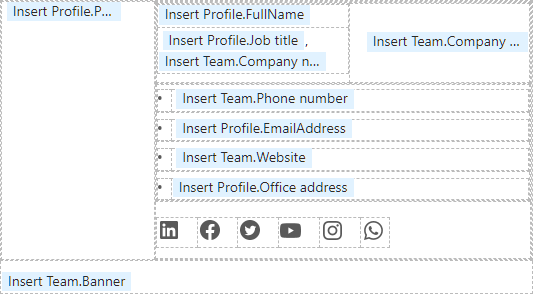
Once you've created the necessary properties, go back to editing your team signature and pull those properties by using the ~%Insert macro. This is how your team signature containing the macro placeholders might look like:
Add personal social networks links
To pull a user's social networks links, decide what social networks you want to display in the signature. Let's take LinkedIn and WhatsApp as an example. The way to leave only two icons is quite easy:
- Select the icon you'd like to remove and press Delete:

- After you've deleted the unnecessary icons, you'll probably get some extra space between the two icons you're going to keep:

- Cut and paste the second icon to place it next to the first one:

Don't worry about the empty cells you'll get after removing the icons, the cells are visible only in the editing mode.
As soon as you get the icons in order, use Insert Profile Property again to make the social networks links change according to the user's profile:
- Select the social network icon you want to bind the profile property to and click Insert/edit link:

- Then click the Insert macro icon in the Insert/Edit Link dialog:
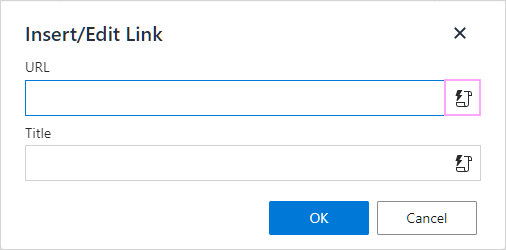
- Choose Insert Profile Property and select the necessary property from the list:
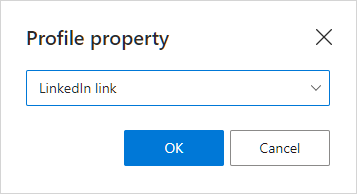
- Review the inserted macro and click OK to save the changes:
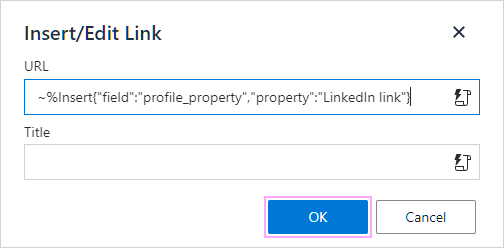
- Repeat the same actions for the WhatsApp icon (or any other social networks icons you'd like to add).
Use Azure AD properties in your team signature
To add a user's photo and other properties from Azure Active Directory, select the Use Azure AD properties checkbox right at the beginning:
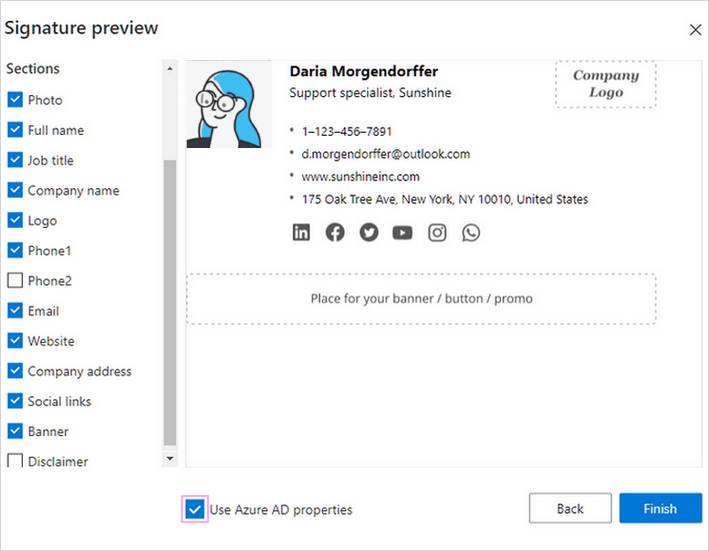
In this case, your signature will be filled with macros automatically and look like in the screenshot below:
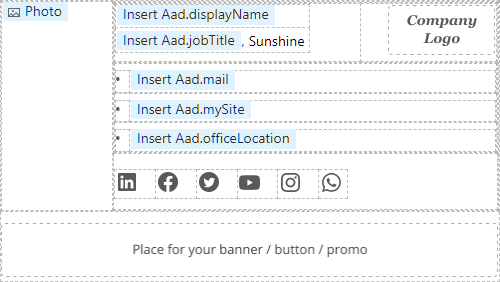
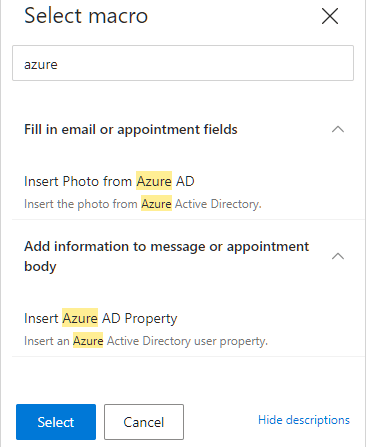
Alternatively, you can use Insert Photo from Azure AD and Insert Azure AD Property to get only the information you need:
Enjoy the result!
As a result of all the work done, your team signature will pull the personal details of the user who is pasting the template, while the team details will be the same for each team member. Just compare the samples below:


See also
How to set signatures
How to dynamically update your signature
Please contact us here