Shared Email Templates for Microsoft Outlook / Gmail
How to attach files from datasets
Heads up! We're moving the Shared Email Templates for Outlook documentation to our new site: email-templates.app. The new version will be ready soon, and we hope you'll love the fresh, improved experience. Thank you for your patience during this transition.
With simple datasets in Shared Email Templates, you can easily retrieve not only text values but also files for your email messages. If your dataset contains a file column, you have several options to choose from: simply attach a file, attach a file while inserting the file name into the message body, select a file via a dialog displayed when a template is being inserted, or attach multiple files using tables and lists bound to the dataset.
How to add a file column to a simple dataset
-
In a simple dataset that you're creating or editing, open a dropdown menu next to the rightmost column and select File.

- Enter the name of the file column.
-
Click a cell and choose what to insert: a link to a single file or links to multiple files from your cloud storage (OneDrive or SharePoint if you're using Shared Email Templates for Outlook, or Google Drive if you're using Shared Email Templates for Gmail). Then select the corresponding option.
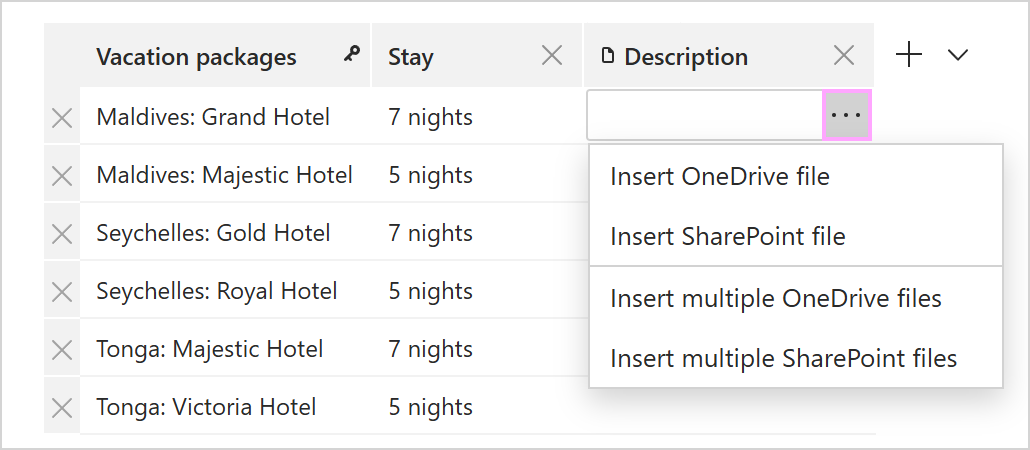
-
Select the necessary file(s).

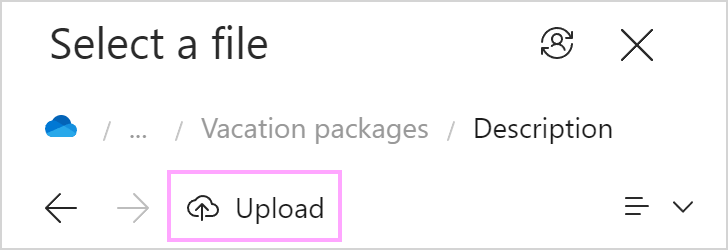
Tip. You can upload a file from your local storage to OneDrive or SharePoint by selecting the Upload button.
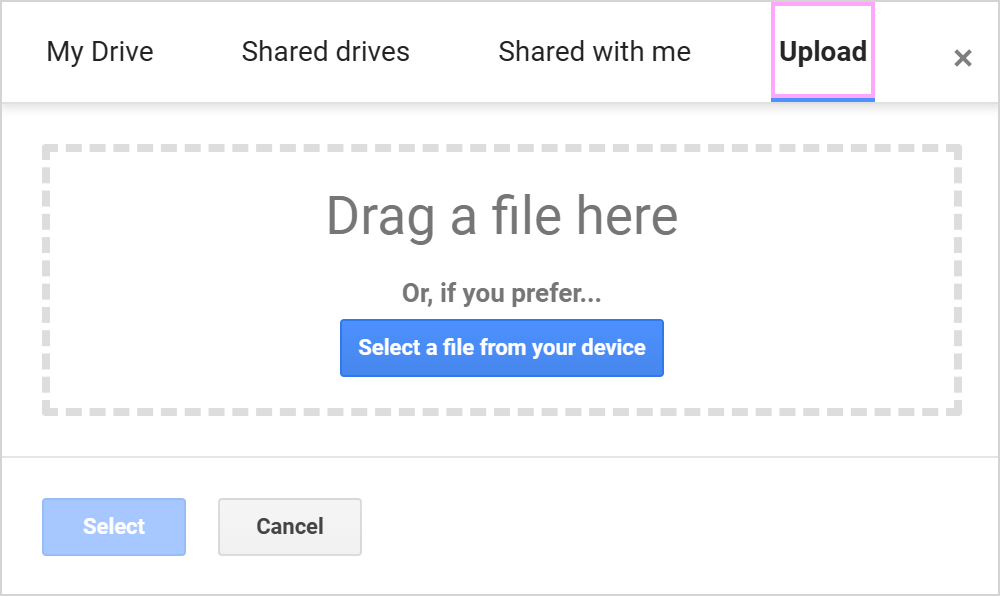
In a similar way, you can upload a file to Google Drive. Switch to the Upload tab to drag or upload a file from your local storage.
-
When you're done, save your dataset.

How to attach files from datasets using macros
The Attach macro: Attach a file
How to attach a file from a dataset to an Outlook email message
By watching this video, you'll learn how to add a file column to datasets and use files specified there as email attachments.
-
In a template that you're creating or editing, select the Insert macro button.

-
Select Attach from dataset.

-
Select a dataset, a file column, and a key value identifying a row where the file to be attached is specified. Then select OK.

- Save your template.
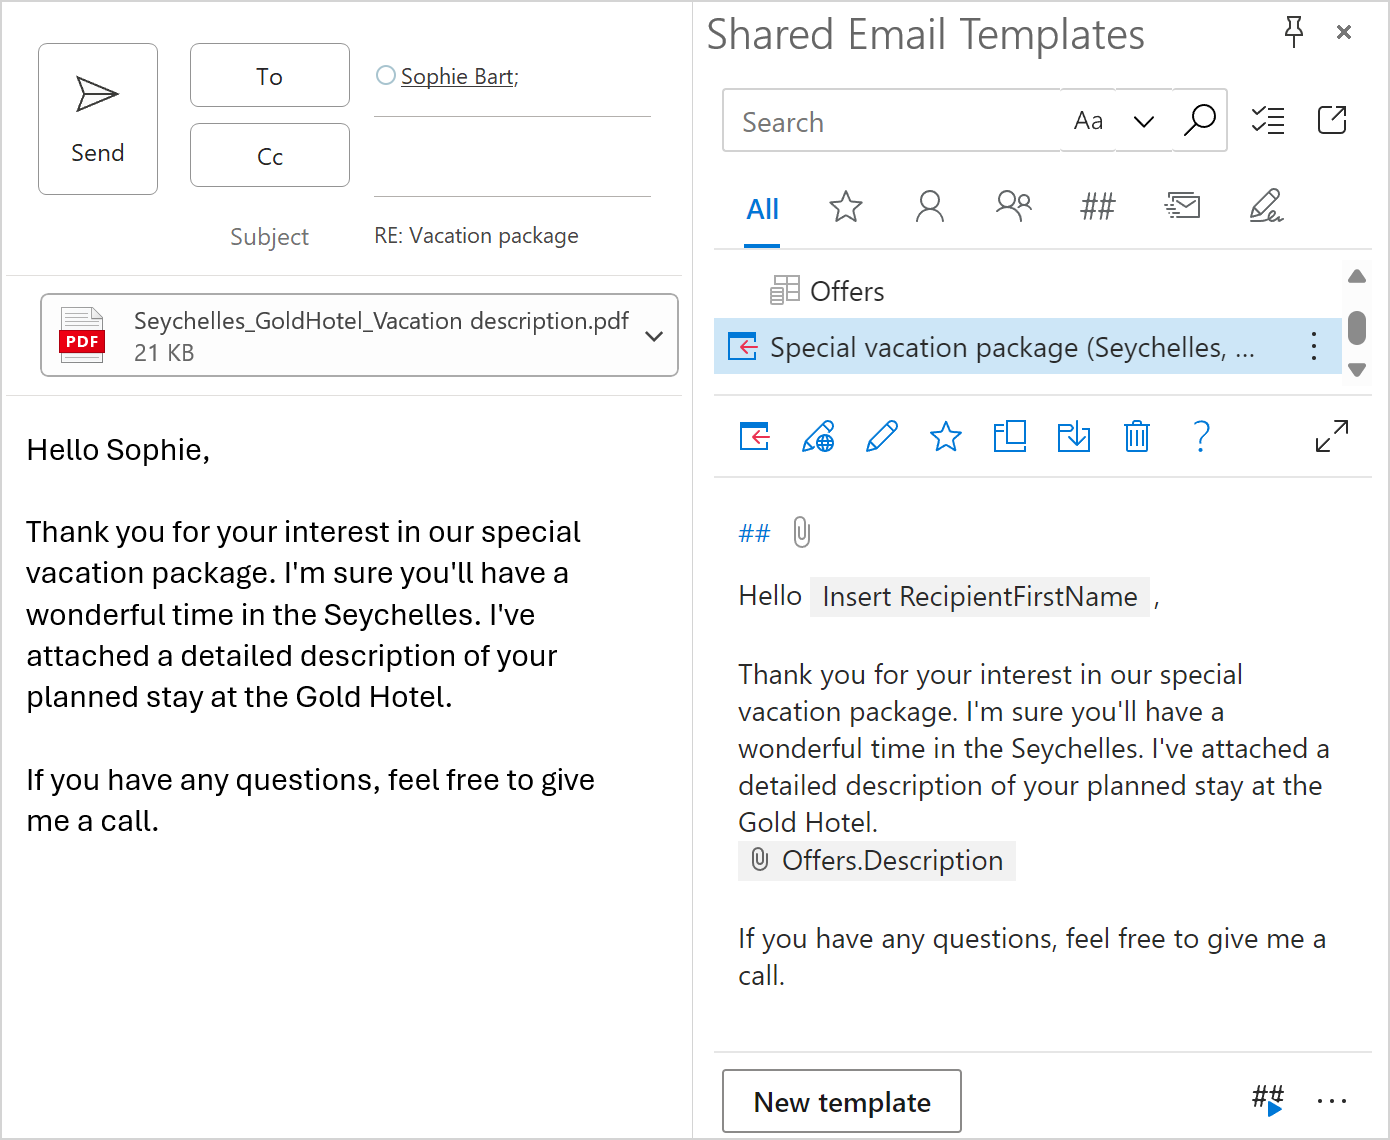
When you insert such a template into an email message, the Attach macro will automatically attach the necessary file.
The Insert macro: Attach a file and insert its name
How to attach a file and insert its name into an Outlook email message
If you want to attach a file and insert its name into your email message at the same time, this video is for you. With the help of datasets in the add-in, it's quick and easy to do.
-
Start creating or editing a template. On the template editor toolbar, select the Insert macro button.

-
Select Insert dataset value.

-
In the Dataset value dialog, select a dataset, a file column, and a key value that the Insert macro will use to identify the row where the file is specified. Also, select the Attach file checkbox. Otherwise the macro will only retrieve the file name. Then select OK.

- Save the template.
When you insert such a template into an email message, the necessary file will be attached, and the macro placeholder will be replaced with the file name.
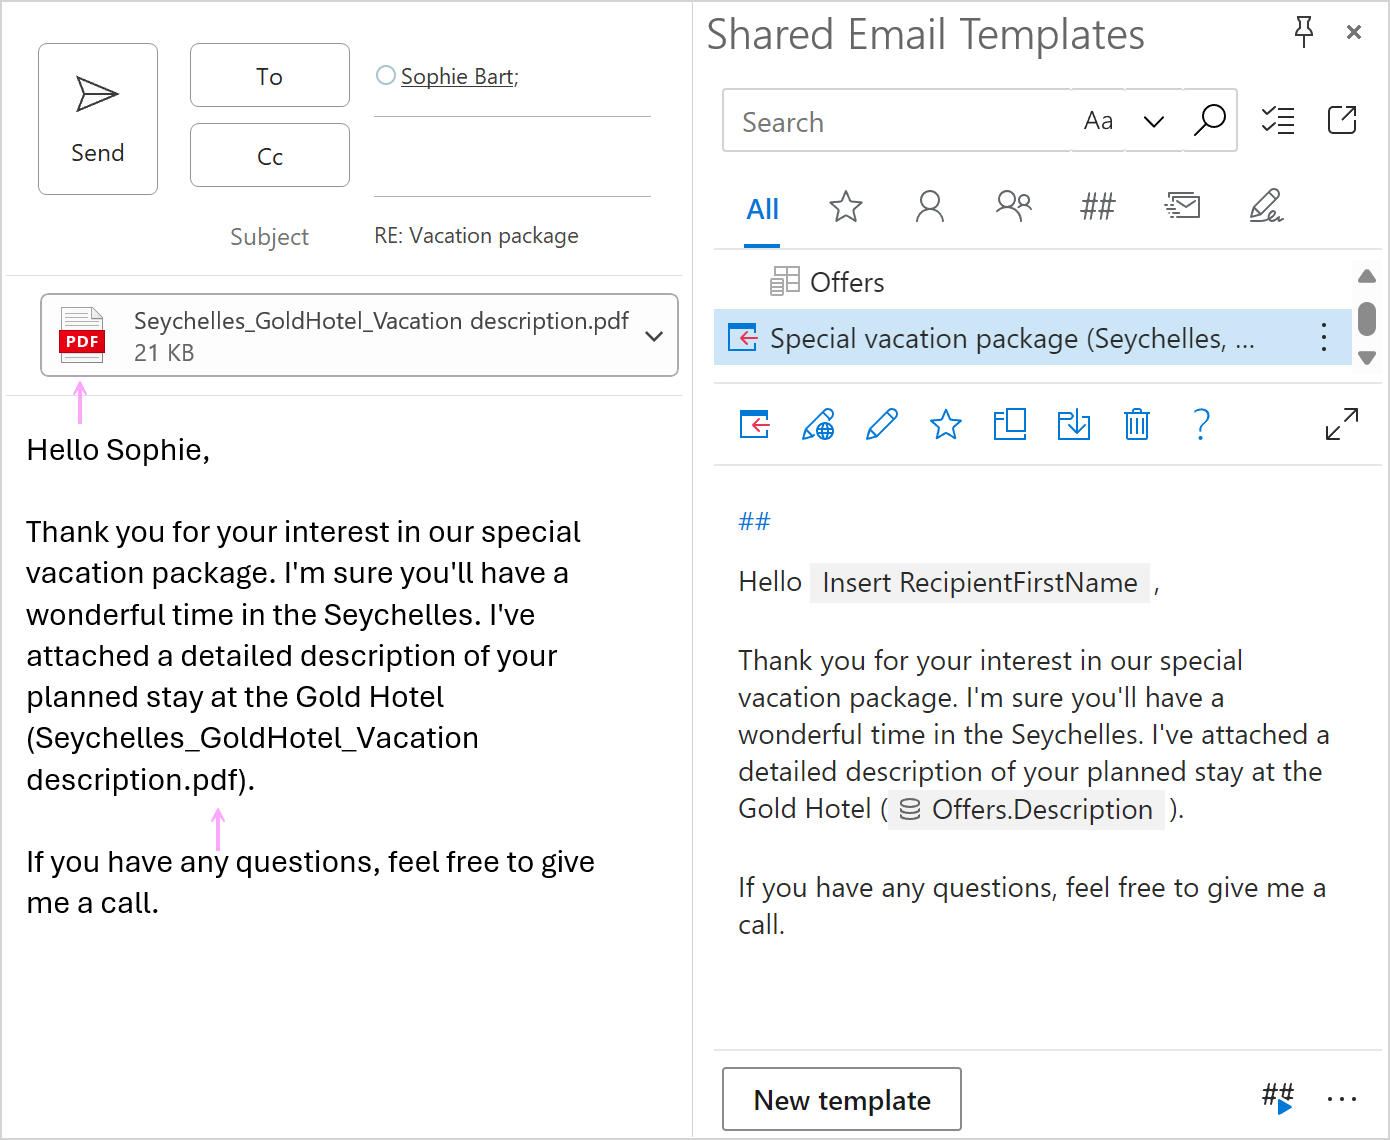
The WhatToEnter macro: Select a file to attach
How to add a dropdown list for attachments to an Outlook email template
Learn how to add a dropdown to your email template to choose an attachment. This video will also show you how to automatically insert the attachment's name into your email.
-
When creating or editing a template, select the Insert macro button.

-
Select What to enter (WTE).

-
In the What to enter dialog, select Dataset, enter the field name that will be shown in a dialog prompting you to choose an attachment, and then select the dataset and the file column. You also need to select the Attach file checkbox. Without it, only the file name will be added to your email. When you're done, select OK.

- Save your template.
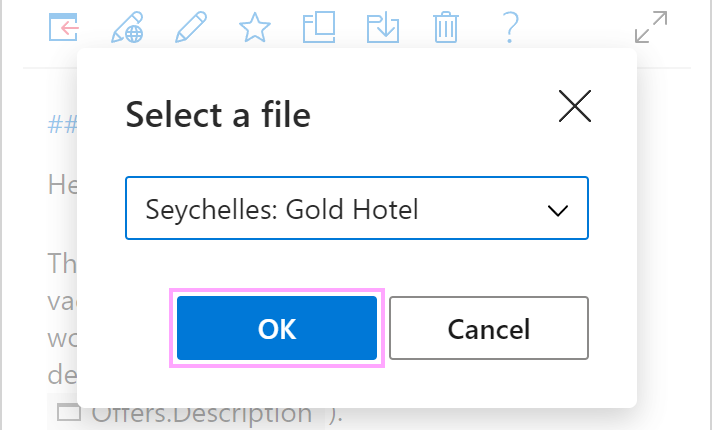
When you insert such a template into an email message, a dialog prompting you to select a file to attach will show up. To make it possible for the macro to attach the right file, select the corresponding value from the key column of your dataset. Then select OK.
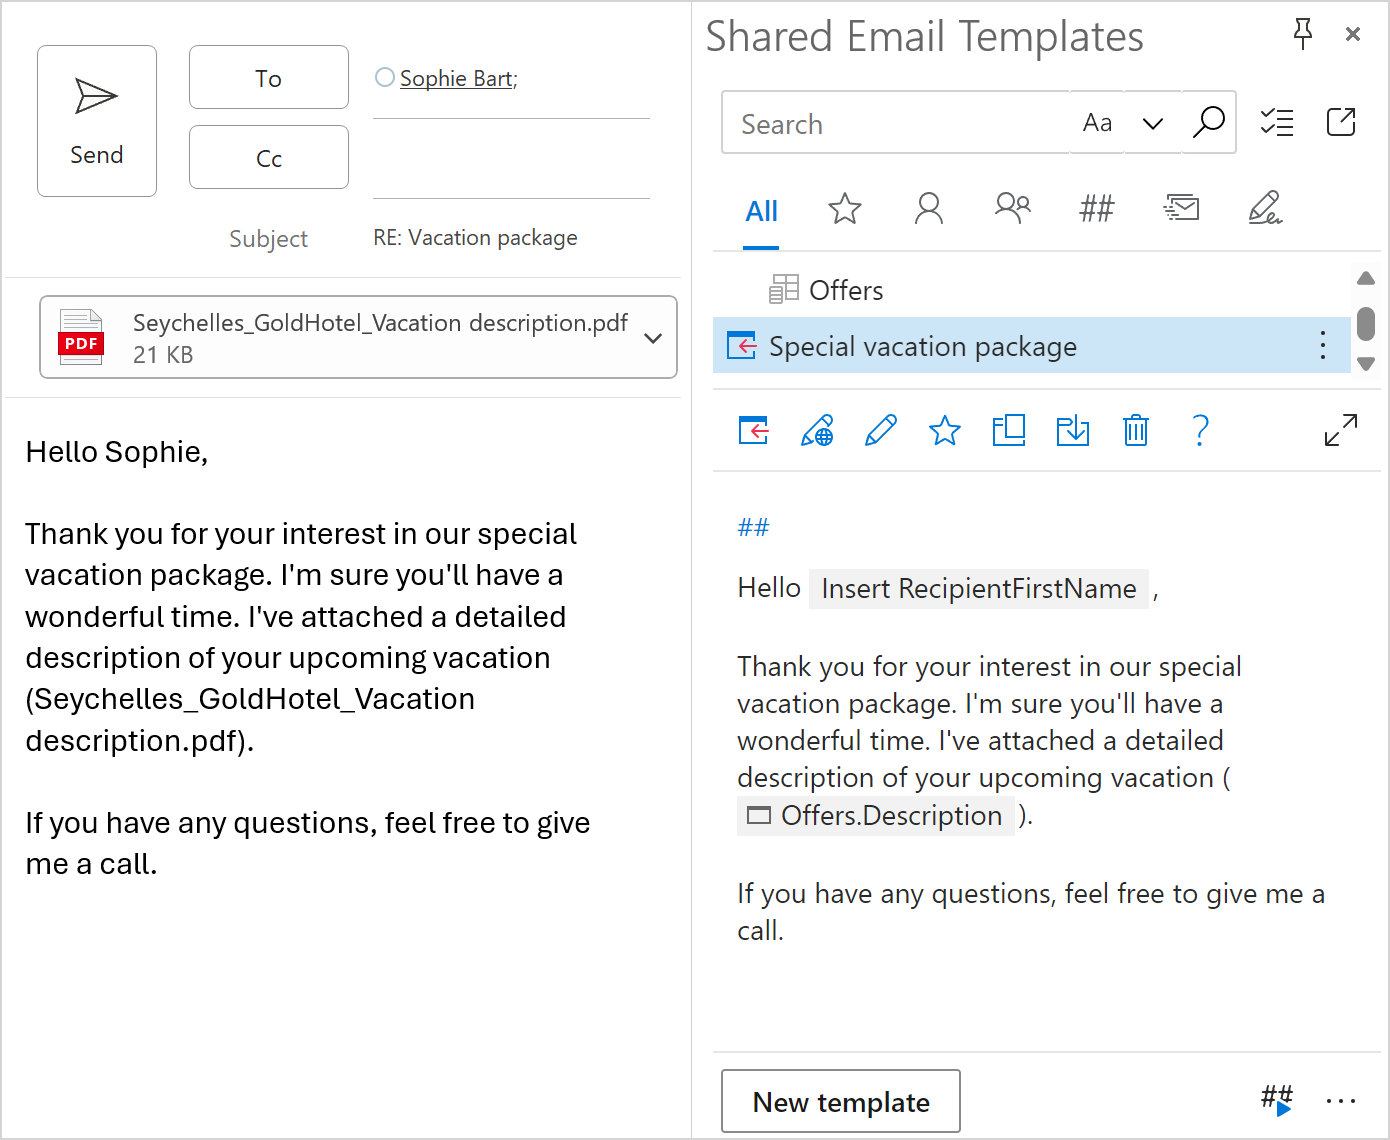
As soon as you select the key value, the macro will attach the necessary file and add its name to the message body.
How to attach files from datasets using tables
How to attach multiple files and add table to email in one go
Learn how to attach multiple files from a predefined list and add a table with the details you need for your email reply, all at once using a dataset and an email template.
-
Add a table to a template you're creating or editing. Reserve only one row for the details you want to retrieve from your dataset.

-
Right-click the row reserved for the details to be retrieved and select Bind to dataset.

-
In the Select dataset dialog, enter the field name. It will show up in a dialog prompting you to select dataset key values. Select a dataset. Then choose columns that you want to include in the table and columns where the files to be attached are specified. Select OK.

- Save your template.
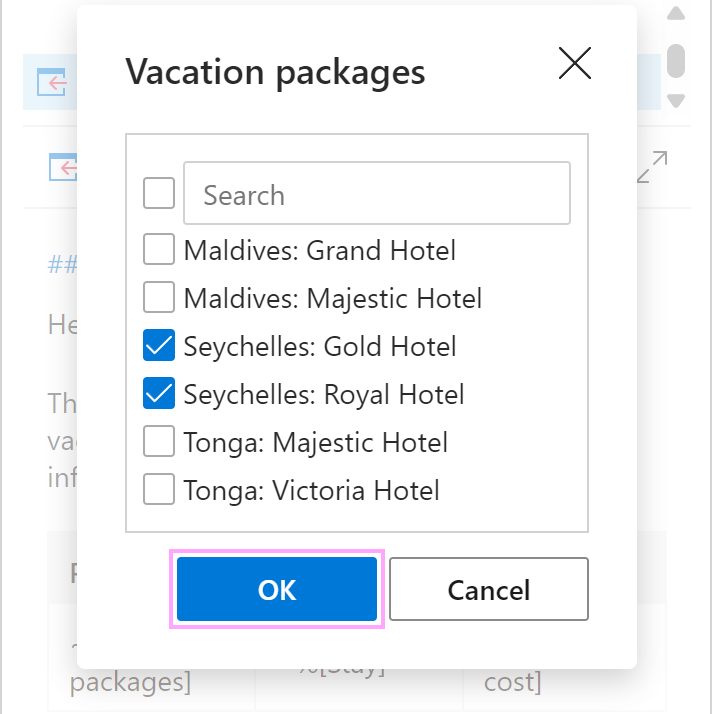
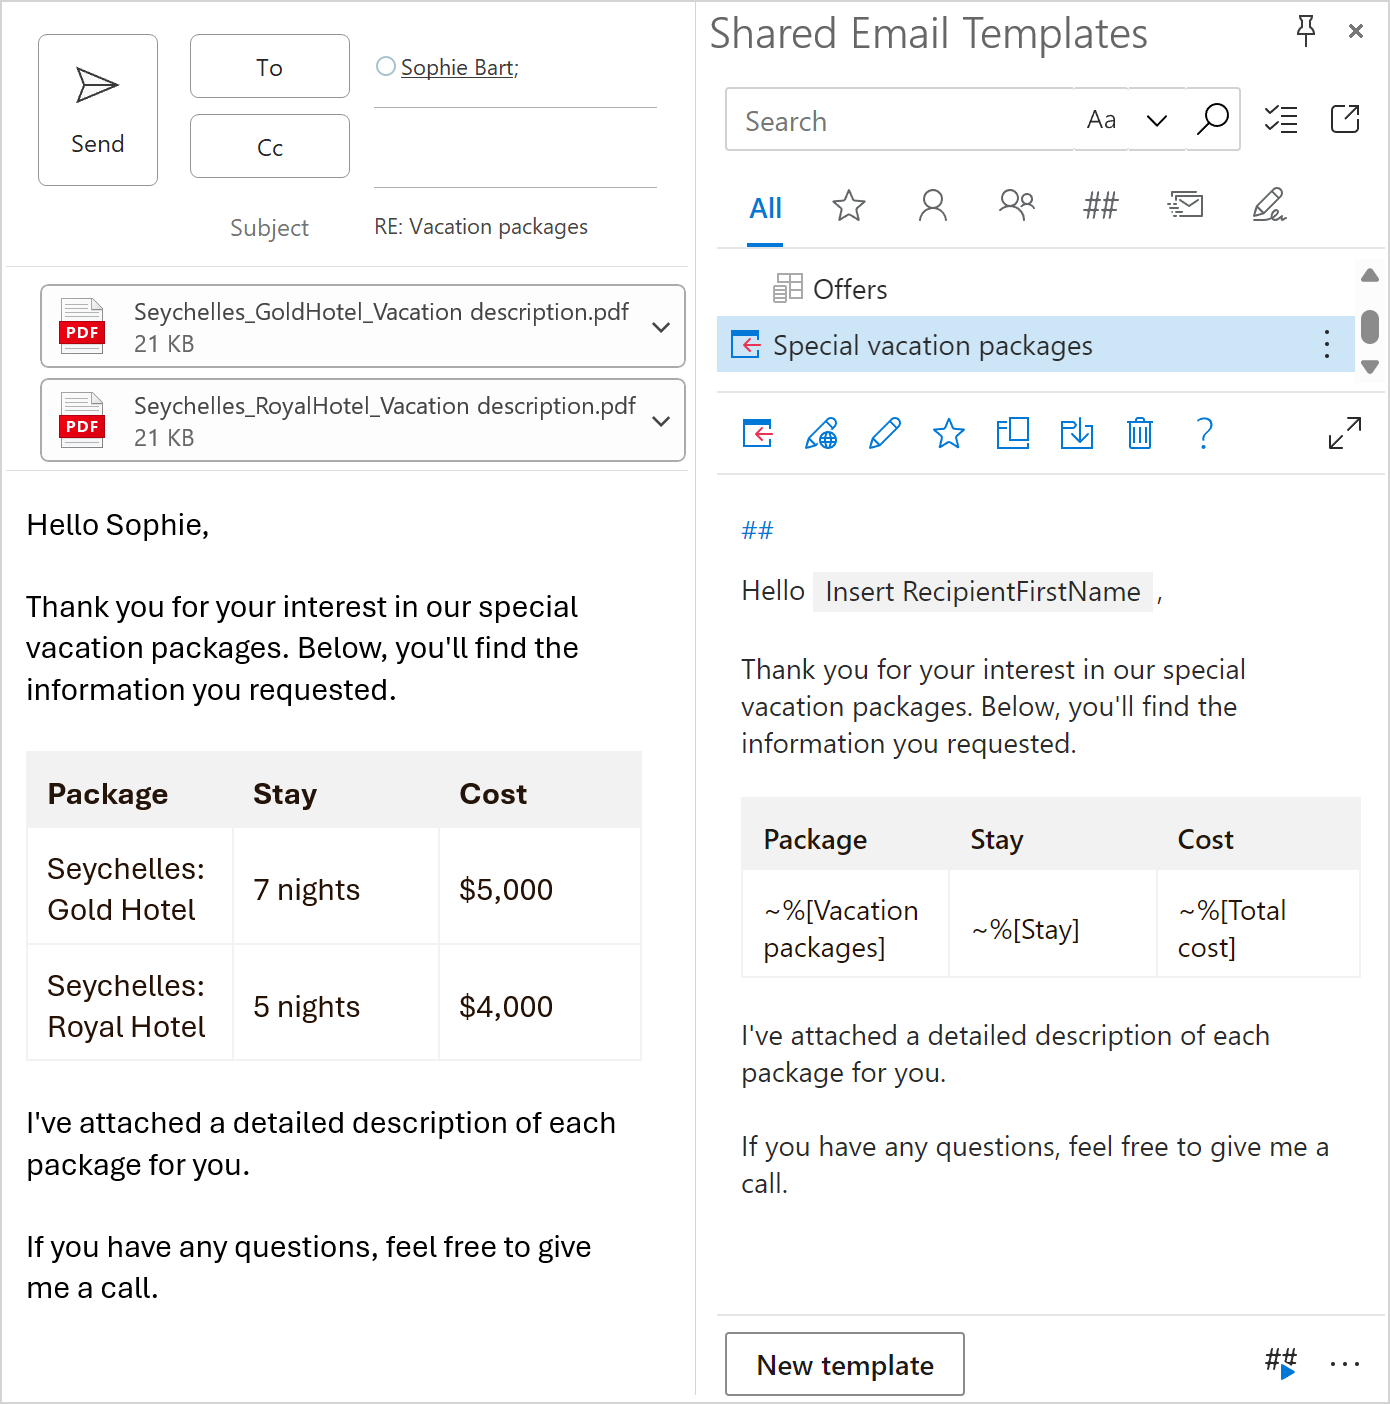
When you insert such a template into an email message, a dialog will appear making it possible for you to specify dataset rows for the bound table by selecting dataset key values. When you're done, select OK.
As soon as the dialog closes, data from the specified dataset rows will be added to the table and the specified files will be attached to the email.
How to attach files from datasets using lists
How to populate a list in an email with the names of attached files
By watching this video, you'll learn how to pull file names into your email as a list and attach the corresponding files with an email template.
-
In a template you're creating or editing, start creating a list. Right-click the line where the first list item is going to appear and select Bind to dataset.

-
Enter the field name that will be in a dialog asking you to select values from the key column of your dataset, select the dataset itself, choose columns that will form a list and columns where the files to be attached are specified. Then select OK.

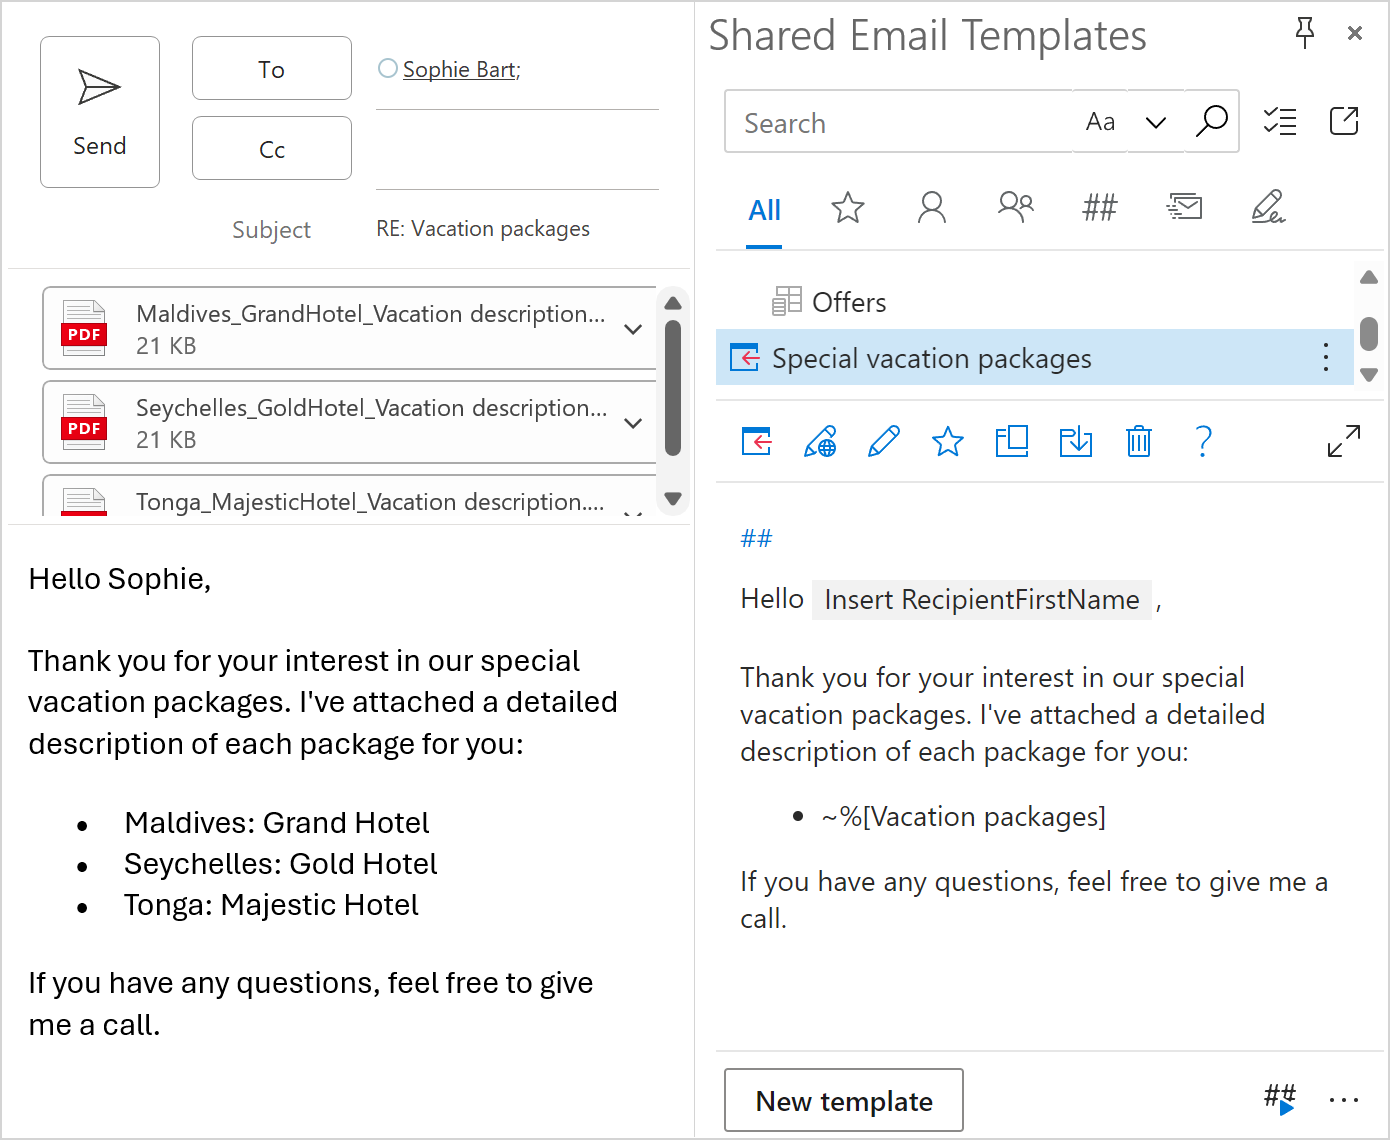
When you insert such a template into an email message, a dialog will show up so that you can select key values from the dataset to specify the rows that must be on the list. When you're done, select OK.
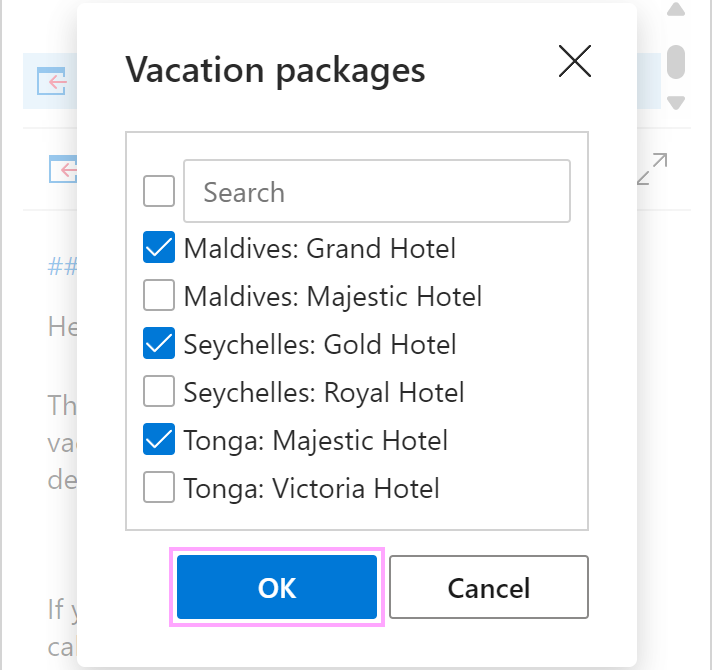
After you select the key values, data from the specified dataset rows will be added to the list and the necessary files will be attached to the email message.
Please contact us here