Shared Email Templates for Microsoft Outlook / Gmail
Insert pictures from datasets
Heads up! We're moving the Shared Email Templates for Outlook documentation to our new site: email-templates.app. The new version will be ready soon, and we hope you'll love the fresh, improved experience. Thank you for your patience during this transition.
If you often use the same pictures in your emails, you can create a simple dataset with a picture column and link it to your shared email templates. This will let you insert pictures from the dataset either automatically or by choosing which picture to insert from a dropdown list. You can also insert pictures into tables and lists.
Add a picture column to a dataset
- In Shared Email Templates, start creating or editing a simple dataset.
- Click the dropdown arrow next to the rightmost column.
-
From the dropdown menu, select Picture.
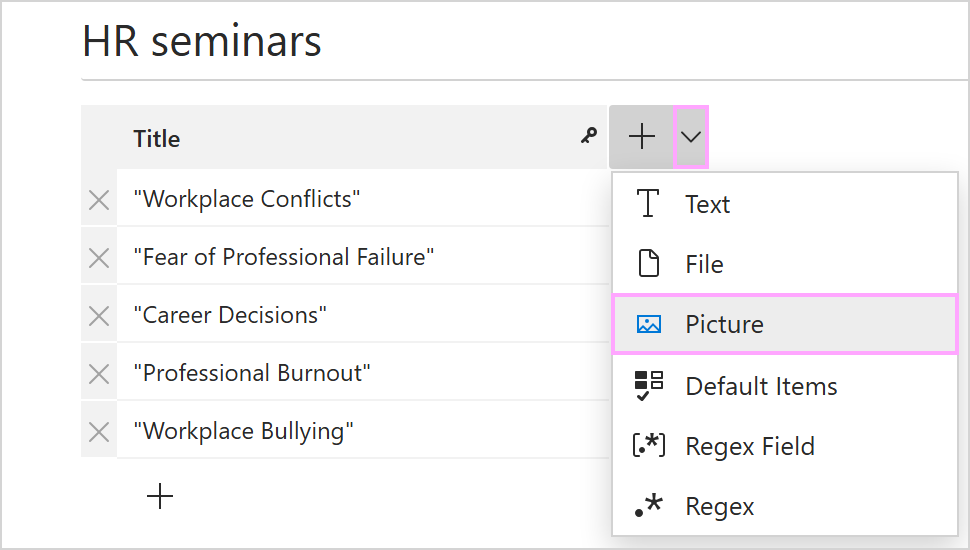
- Enter the name of the column.
-
Click a cell. Then click the ellipsis (...) menu in it and decide whether to insert a link to a single picture or links to multiple pictures from your cloud storage (OneDrive or SharePoint if you're using Shared Email Templates for Outlook, or Google Drive if you're using Shared Email Templates for Gmail). Then select the option you need.

-
Select the necessary file(s).
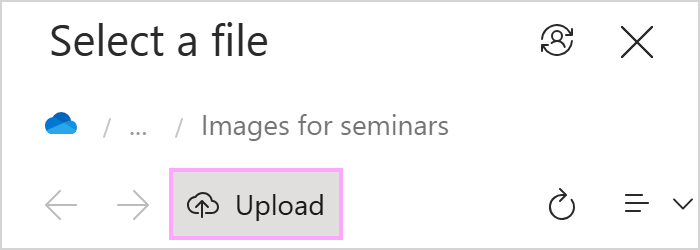
Tip. If you need to upload a file from your local storage to OneDrive or SharePoint, select the Upload button.
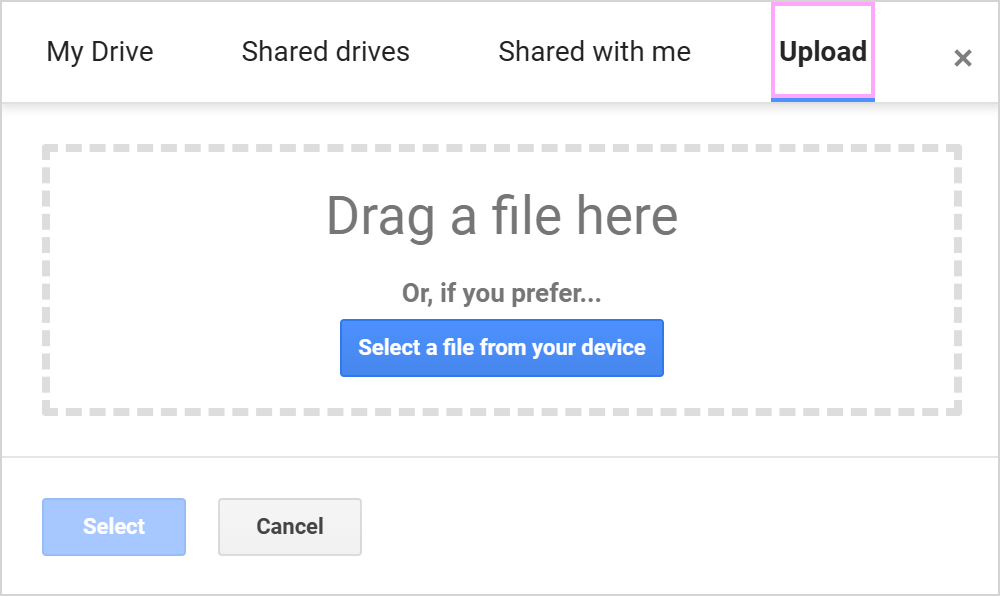
In a similar way, you can upload a file to Google Drive. Switch to the Upload tab to drag or upload a file from your local storage.
- When your dataset is ready, select the Save button.
Insert pictures automatically
- In your template, place the cursor where an image from a dataset is needed.
-
On the template editor toolbar, select Insert picture.
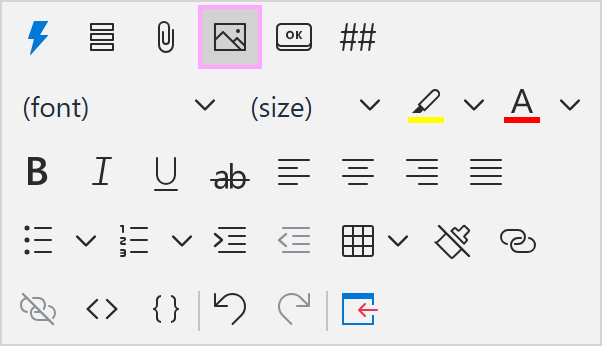
- Select Insert picture from dataset.
- The Insert picture dialog appears.
-
On the General tab:
- Select your dataset.
- Select the picture column.
- Select the key value to identify the row that contains the image you need.
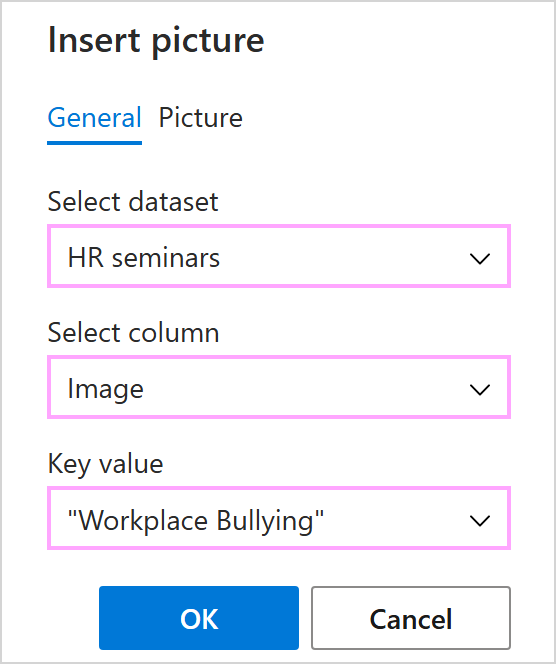
- On the Picture tab, you can resize the image and add a link to it if needed.
When you're finished, select OK.
-
On the General tab:
- Save the template.
When you use this template, the add-in will automatically insert the specified picture into your email.

Tip. To insert the file name, including the extension, instead of the picture, select Insert macro > Insert dataset value when editing your template. In the Dataset value dialog, select the dataset, picture column, and key value you need, and make sure that the Insert picture checkbox is not selected.
Choose a picture to insert using a dialog
- Start creating or editing a template. Place the cursor where you want an image from your dataset to appear.
-
On the template editor toolbar, select Insert macro.
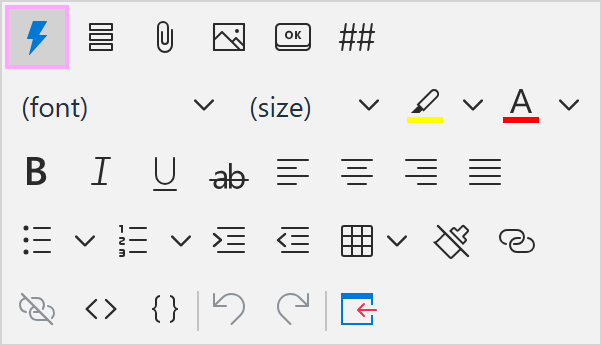
- Select What to enter (WTE).
-
The What to enter dialog appears.
-
On the General tab:
- Select Dataset.
- Enter the field name (you'll see it as a prompt when inserting the template into an email).
- Select the necessary dataset.
- Select the picture column.
- Select the Insert picture checkbox, otherwise only the file name will be inserted.
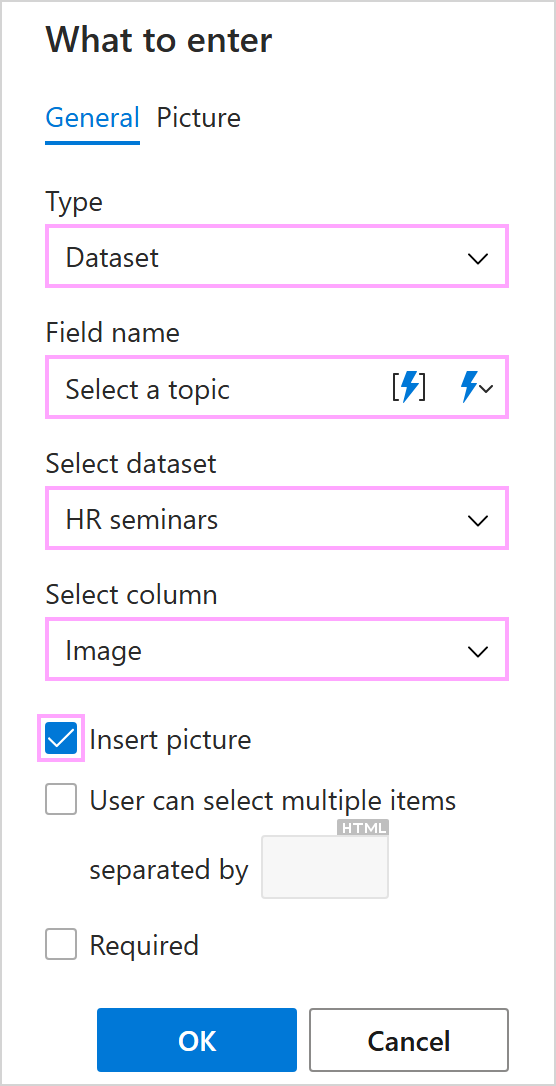
- On the Picture tab, you can change the size of the image and add a link if you want to.
When you're finished, select OK.
-
On the General tab:
- To save the changes to your template, select Save.
When you insert the template into an email, a dialog appears. It contains a dropdown list of dataset key values. Select the value that identifies the row with the picture you want to insert. Then select OK.
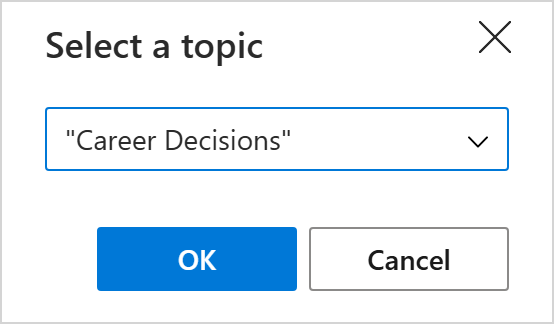
The template will be inserted with the image you selected.
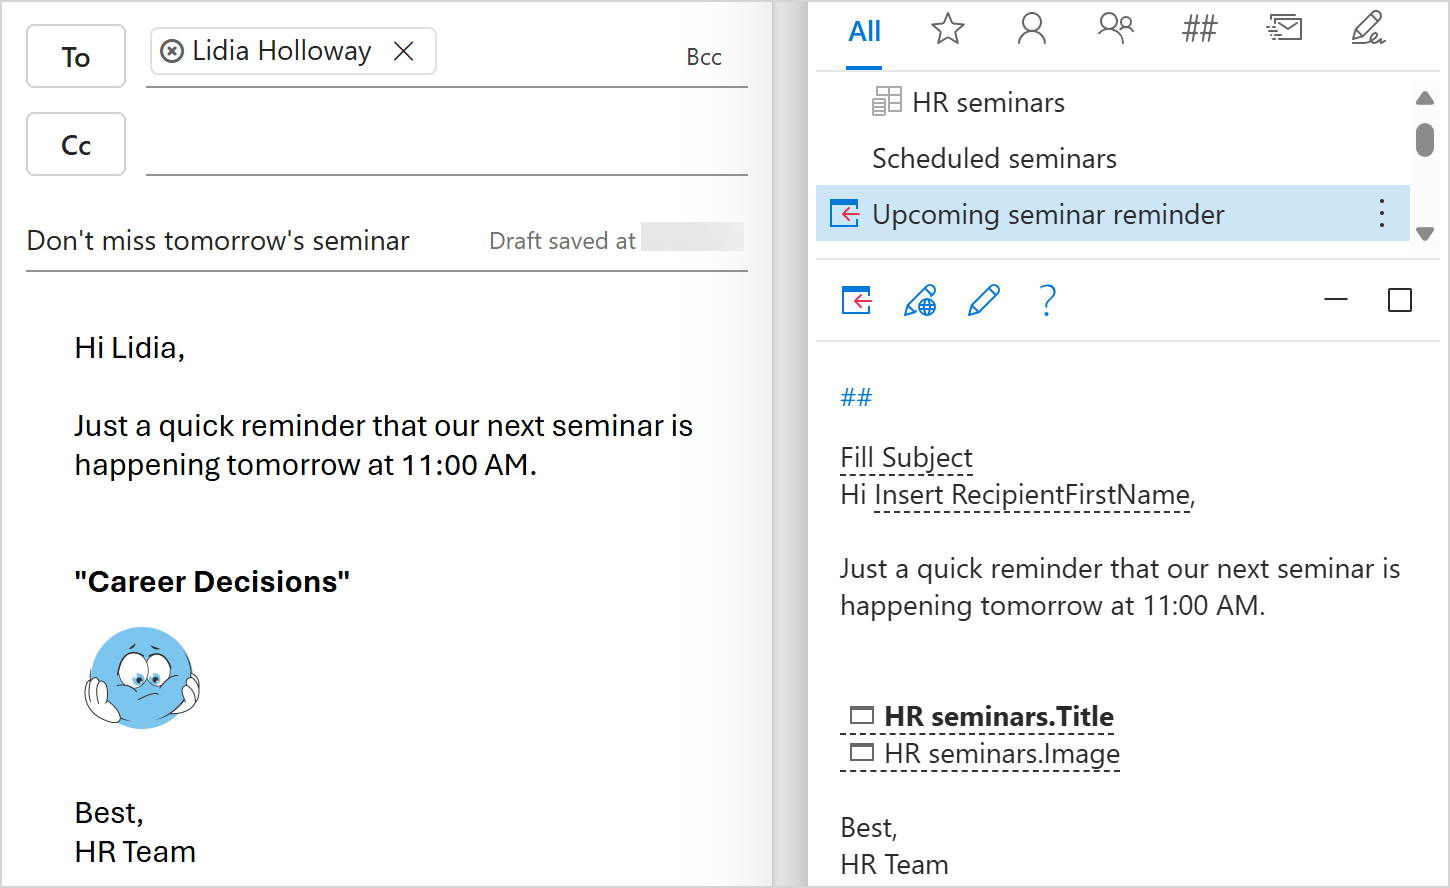
Insert pictures in tables and lists
If you want to include images in tables and lists in your emails, add a table or a list to your template and bind it to the dataset that contains the images you need. For detailed instructions, see How to populate tables and lists with dataset values.
Please contact us here