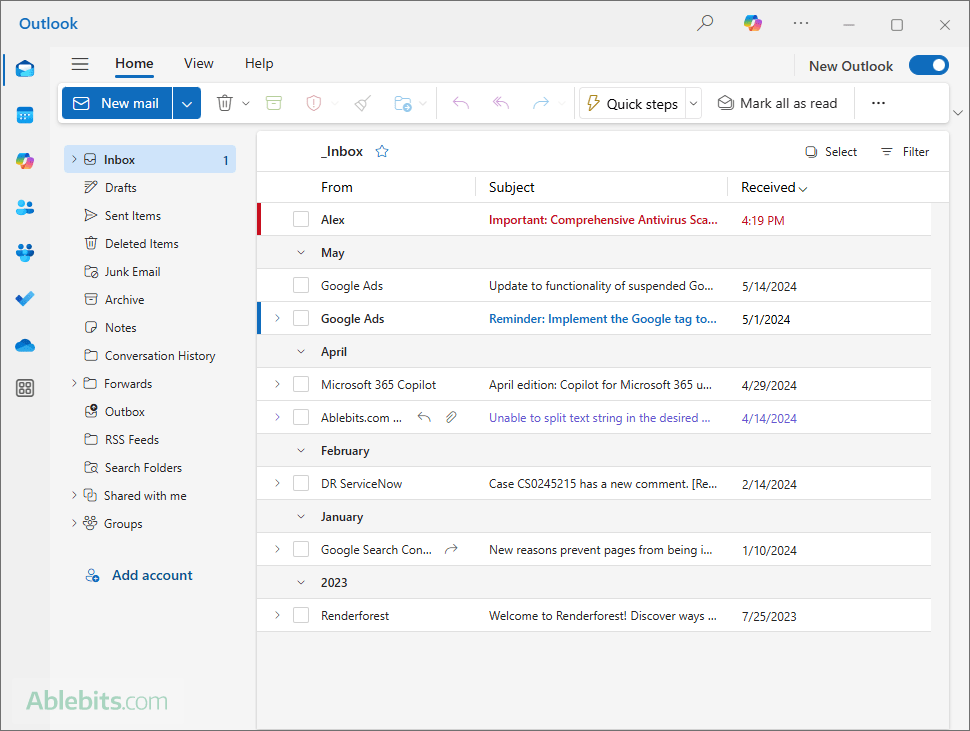
Discover the convenience of conditional formatting in the new Outlook and Outlook on the web. Learn how to color-code your messages and make sure critical ones stand out.
In classic Outlook, conditional formatting has been a staple for years, allowing users to customize the appearance of their emails based on specific criteria. Finally, this long-awaited feature is available in the new Outlook app and on the web, bringing a familiar sense of organization and personalization.
Note. This tutorial targets the new Outlook app and the web version. For classic Outlook, please refer to this article: How to color code Outlook emails, calendar and tasks.
Conditional formatting in new Outlook and web
Conditional formatting is a feature designed to highlight important emails based on certain conditions defined by the user. These conditions can be related to the message sender, subject line, or the presence of your name in a particular field. By applying different colors, you can quickly identify messages that require your immediate attention without sifting through less pertinent ones.

How to use Outlook conditional formatting to highlight emails
In the new Outlook app and Outlook on the web (the online version for users with a work or school account), the process of setting up conditional formatting is essentially the same. There might be slight differences in the interface elements, but the core steps remain consistent across both platforms.
To create a conditional formatting rule for color-coding emails in the new Outlook and web, follow these steps:
- Access the conditional formatting settings. Click the Settings gear icon in the top-right corner, and then go to Mail > Conditional Formatting.
- Choose account. If you have multiple accounts in the new Outlook, ensure that the correct one is selected (by default, it will apply to the primary account). If you have just one account or are using the web version, skip this step.
- Add a new rule. Click + Create new conditional formatting rule to begin setting up your rule.

- Name your rule. In the first box, type a name that will help you identify the rule later.

- Define the conditions. From the Condition dropdown, select the criteria that will trigger the formatting. Currently, the web and new Outlook rules offer a limited set of criteria, such as:
- From specific people
- Your name is / is not on the To or Cc line.
- Subject includes certain text.
If you need more than one criterion, click + Add another condition and then define the additional criteria.

- Choose the format. Click the Choose Color button, and then pick the font color for your rule. The Preview section will display how the text will appear with the chosen formatting.

- Save the rule. After setting up your conditions and formatting, click the Save button to apply the changes and save your new rule.

By following these steps, you can highlight critical emails in different colors, making them easily identifiable in your mailbox folders.
How to edit a conditional formatting rule
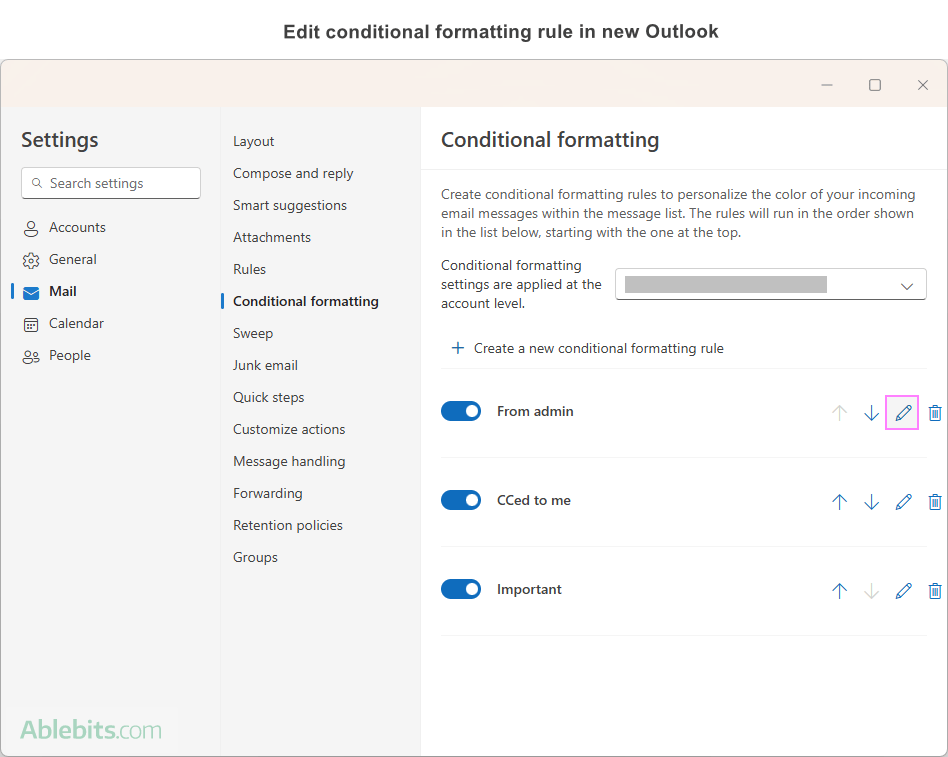
Editing a conditional formatting rule in the new Outlook app and Outlook on the web is a straightforward process. Whether you need to adjust the criteria or change the formatting style, the steps are similar across both platforms. Here's how you can modify an existing rule:
- Open Settings. Click on the gear icon in the top-right corner, and then select Mail > Conditional Formatting.
- Select the rule. You'll see a list of all your conditional formatting rules. Click the Edit button next to the rule you wish to change.
- Make changes. Change the name, conditions, or formatting options as needed. Also, you can add new or remove the existing conditions by clicking on the respective options.
- Save changes. Once you've made the desired adjustments, be sure to save the rule to update your settings. If you've changed your mind or made a mistake, then click Discard to cancel the changes.

Remember, you can always come back and edit your rules to better suit your workflow.
How to delete a conditional formatting rule
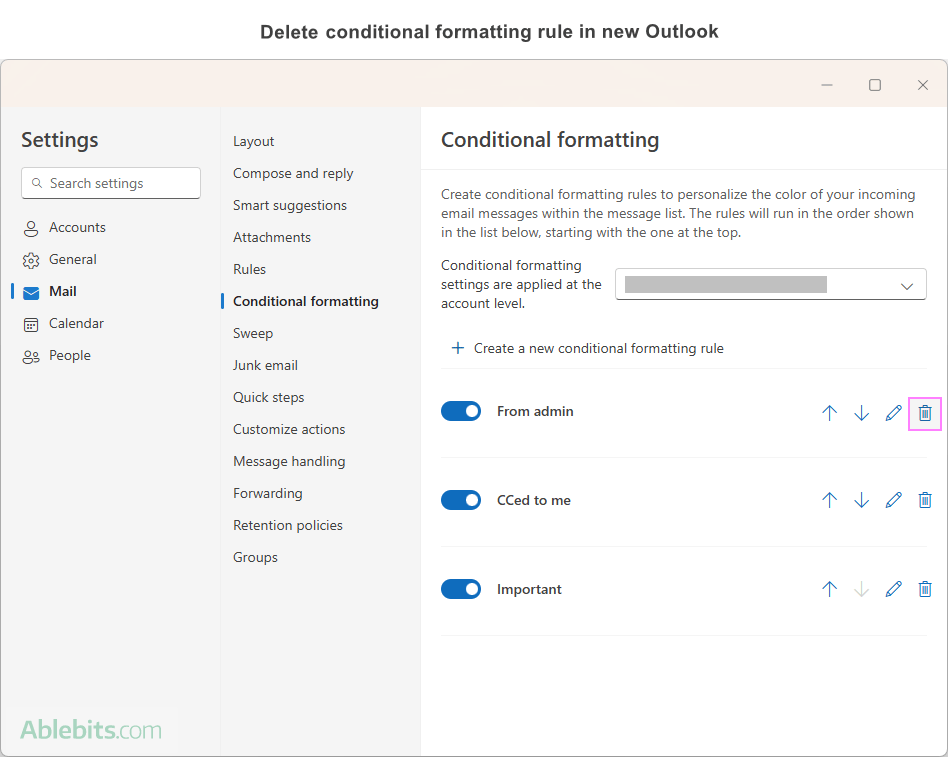
If you no longer need a specific rule, you can easily remove it from your Outlook app. This helps keep your email management clean and ensures that only necessary rules are applied. Here's how you can delete a conditional formatting rule:
- Access Settings. Click Settings > Mail > Conditional Formatting.
- Delete the rule. In the list of conditional formatting rules, locate the one you want to remove and click the Delete rule button next to it.
- Confirm deletion. When prompted, confirm that you want to delete the rule.

This will permanently remove the unwanted rule from your Outlook, keeping your email environment clean and organized.
How to turn a conditional formatting rule off and on
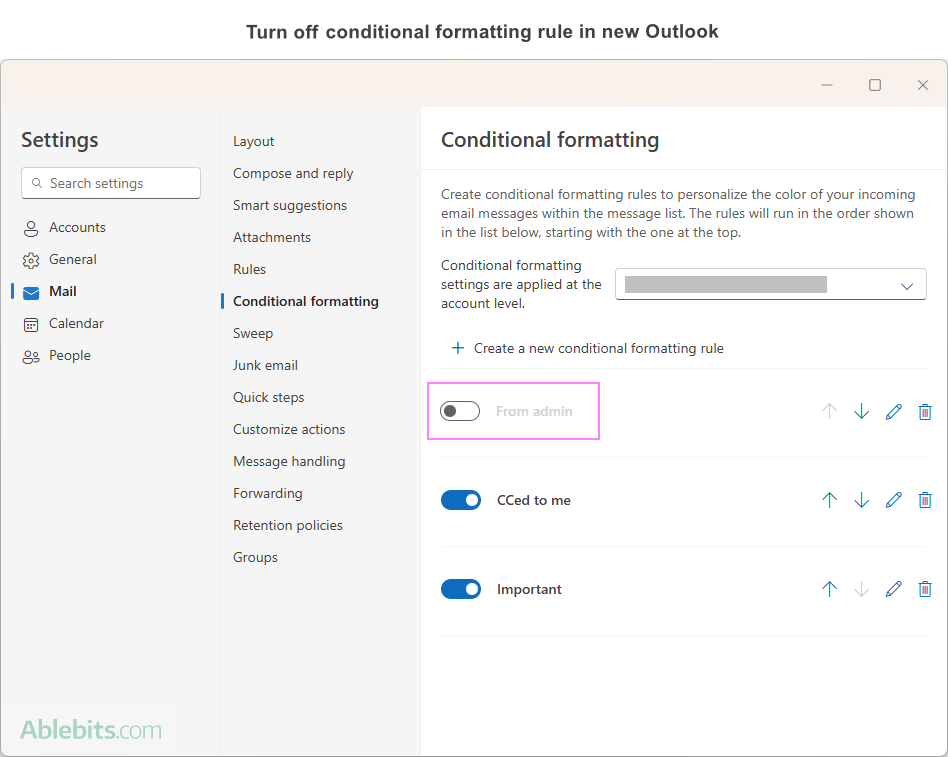
Sometimes you may want to temporarily disable a conditional formatting rule without deleting it. This allows you to quickly turn the rule back on when needed. Here's how to do it:
- Open the Conditional formatting settings.
- In the list of rules, use a toggle switch to turn a certain rule on (enable) or off (disable).

This feature allows you to adapt your email management strategies on the fly and maintain control over your inbox organization with minimal effort.
How to change the rules order
The order of conditional formatting rules in Outlook is important, as they are applied sequentially from top to bottom. Higher listed rules take precedence over lower ones, which can affect how emails are highlighted in your Inbox and other folders.
For example, let's say you have two rules:
- Rule 1 highlights all messages from the admin in blue.
- Rule 2 highlights all messages with the word "important" in the subject in red.
If Rule 1 is listed above Rule 2, then all messages from the admin will be highlighted in blue, including those with "important" in the subject. However, if Rule 2 is above Rule 1, messages from the admin with "important" in the subject will be highlighted in red instead.
To adjust the order of the rules and thus change their priority, you can use the Move Up and Move Down buttons provided in the conditional formatting settings:

By organizing the order of your conditional formatting rules, you can control which rules take priority, ensuring that your most important formatting criteria are applied correctly.
Examples of conditional formatting
Here are some practical examples of how you can color code your emails with conditional formatting in the new Outlook:
- Highlight messages from VIP clients in red. This will make emails from top-priority clients immediately noticeable.
- Emphasize emails with specific keywords in the subject. For instance, if you're working on a project named "Orion," you can set a rule to highlight all emails with "Orion" in the subject line.
- Distinguish emails from your manager or direct reports. Set a rule to color-code emails from specific individuals, such as your manager or team members.
- Mark emails related to upcoming deadlines or events. Use a distinct color to highlight emails with upcoming dates or approaching events mentioned in the subject line.

Limitations and differences of new Outlook conditional formatting
While conditional formatting in the new Outlook and web offers several benefits, it's important to be aware of its limitations and differences from the classic desktop Outlook application:
- Availability. It is only available for Microsoft 365 work or school accounts in the new Outlook and the web version.
- Scope of application. A conditional formatting rule applies to both read and unread messages across all folders, except Drafts.
- Fewer conditions. Compared to classic Outlook, the new Outlook and web have fewer options for conditions.
- Limited to emails. In the new Outlook and web, conditional formatting is currently available only for emails, not for calendar items and tasks.
- Formatting options. The only formatting option available is changing the font color of emails. Other formatting styles such as font type or size are not supported.
By understanding these limitations, you can better tailor your conditional formatting rules to suit your needs.
Hopefully, this guide on new Outlook conditional formatting has equipped you with the necessary skills to effectively color-code your inbox, ensuring that important emails beckoning your attention will never go unnoticed.
 by
by
8 comments
New outlook conditional formatting is very disappointing. Since there are fewer conditions and formatting options it is hard to tailor your mailbox to your own needs.
Hi Jennifer,
We completely agree with you. However, conditional formatting in the new Outlook is still a work in progress. Hopefully, they’ll add more options and flexibility in future updates. Thanks for sharing your thoughts!
When will an option for formatting unread messages be added back to Conditional Formatting?
Ability to format unread messages (in Outlook in the browser) should be made available, at a minimum.
When will conditional formatting be available in the Outlook for Mac calendar?
Hello Niels,
Currently, conditional formatting is only available for the Windows version of Outlook.
Unfortunately, conditional formatting for the Outlook for Mac calendar is not even listed on the Microsoft 365 Roadmap, and Microsoft has not announced any plans to bring this feature to Mac. This suggests that it may not be under development or scheduled for release in the near future.
I have the same issue. This is in the "Conditional Formatting", in the "condition" section where there is no "To" under "People".
Hello Lambert,
The new Outlook's Conditional Formatting has the option "I am on the To line" - please see the screenshot under "Step 5. Define the conditions" in this tutorial. The option to highlight emails where I am the only one in the To line is missing indeed.