The tutorial shows how to create HTML-based emails by inserting the code in any version of Outlook 365, 2024, 2021, 2019, 2016 and lower.
Embedding HTML into Outlook can enhance the visual appeal and functionality of your messages enormously. Imagine transforming your emails from plain text to visually stunning, professional communications that capture your audience's attention from the very first line. Whether you're sending a newsletter, a promotional email, or a custom-designed message, HTML code can make all the difference.
Here's a step-by-step guide on how to add HTML into Outlook, ensuring your messages stand out in a crowded inbox.
Note. This article focuses on classic desktop Outlook for Windows. Unfortunately, in the new Outlook app and Outlook on the web, there is no way to embed HTML into emails.
Problems with inserting HTML in Outlook 365 – 2016
When it comes to creating HTML emails in modern versions of Outlook 365 – 2016, users may encounter a few challenges.
After crafting an awesome HTML design in your chosen editor, the next step is to integrate it into an Outlook message. Unfortunately, the straightforward method of copy-pasting is not viable, as it tends to distort the HTML structure, leading to a less than desirable outcome.
In Outlook 2013 and earlier versions, there was a convenient Insert as Text option within the Attach File dialog, which allowed importing the content of an .html file directly into a message body.

However, in modern versions of Outlook 365, 2024, 2021, 2019 and 2016, this option no longer exists. Currently, the Insert File dialog (accessible via Message tab > Attach File) only allows attaching a file or inserting a link to shared files from cloud storage locations like OneDrive.

Fortunately, you can still bring back the classic Attach File feature to your Outlook. This will enable you to embed HTML content directly into a message, retaining all formatting and layout. The next sections show how you can do it.
Inserting HTML into Outlook
Embedding HTML into Outlook emails is essentially a two-step process:
- Add the Attach File button with the Insert as Text option to either your Outlook ribbon or Quick Access Toolbar (one-time setup).
- Use that button to insert HTML content into your messages.
Add Attach File button to Outlook ribbon
To customize the Outlook ribbon with the Attach File button, follow these steps:
- Create a new message. You need to access the ribbon commands for the Message Compose window, which are different from the main Outlook window. So, start by clicking New Email on the Home tab or using the Ctrl + N shortcut.
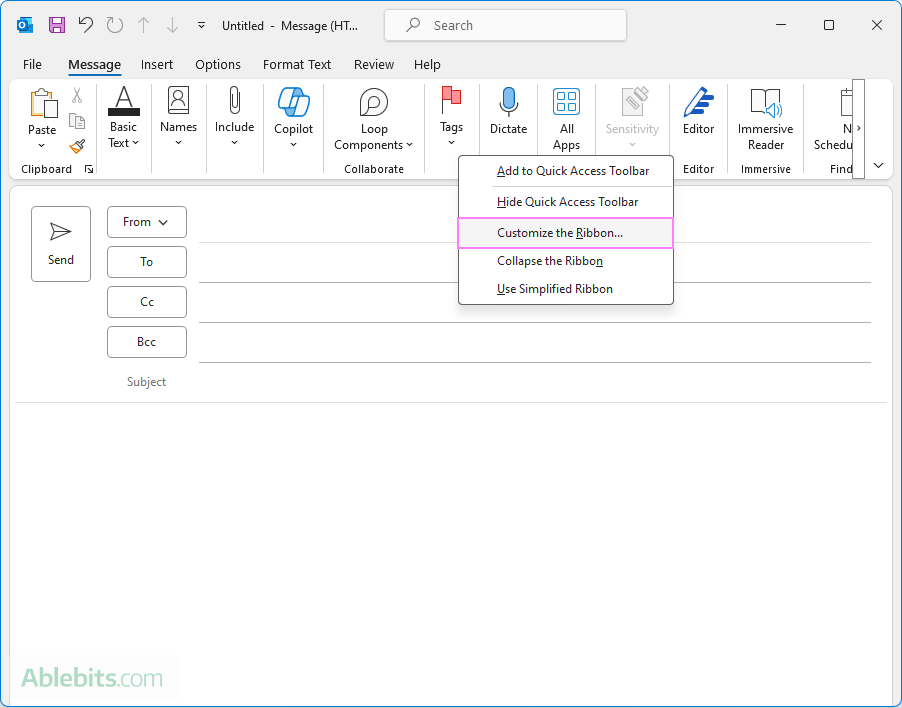
- Customize the ribbon. In the new message window, right click the ribbon and choose Customize the Ribbon… from the context menu.

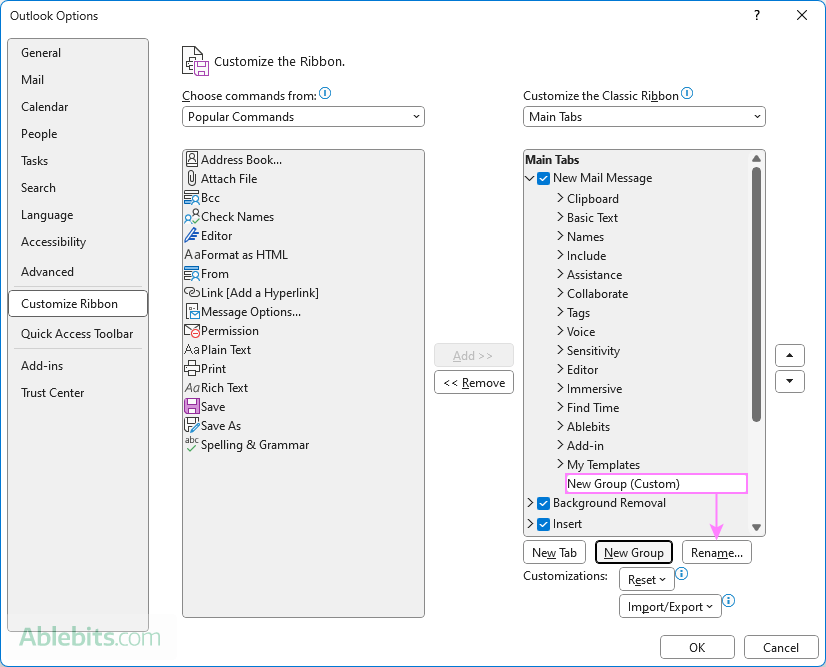
- Add a custom group. Since custom commands can only be added to custom groups, create a new group on the New Mail Message tab or any other tab you prefer.

- Rename the custom group. Select your new group and click the Rename button to give it a suitable name, for example "Insert HTML".

- Add the Attach File command.
- From the Choose commands from dropdown list, select All Commands.
- Scroll down and find Attach File. You will see two similar options – with and without an ellipsis (…). Be sure to choose the second one without the three dots.
- Ensure your custom group is selected in the list of tabs on the right side.
- Click the Add button to place the Attach File command in your custom group.

- Save the changes. With the Attach File button successfully added, click OK to save the changes and close the dialog.

With these steps, you should now have the custom Attach File button available in your Outlook ribbon, making it possible to insert HTML directly into your emails.
Add Attach File button to Quick Access Toolbar (optional)
In addition to customizing the ribbon, you can also add the custom Attach File button to the Quick Access Toolbar (QAT) to see which option is more convenient for you. Here's a brief outline of the steps:
- Create a new email. As with the ribbon, the QAT differs between the main Outlook window and the Message Compose window. Therefore, begin by creating a new email to access the appropriate QAT commands.
- Customize the QAT. At the upper-left corner of the message compose window, right-click the QAT and choose Customize Quick Access Toolbar… from the context menu. Alternatively, you can click the Customize Quick Access Toolbar button (down arrow), and then click More Commands.

- Add the Attach File button to QAT:
- Choose All Commands from the Choose commands from dropdown list.
- In the list of commands, find and select Attach File with the paperclip icon and without the ellipsis.
- Click Add to include the Attach File command in the QAT.

- Save changes. Click OK to save your customizations and close the dialog box.
Now, you'll have the Attach File button readily accessible on your Outlook Quick Access Toolbar.

For more information, see How to customize Outlook Quick Access Toolbar.
Remember, customizing the Quick Access Toolbar is a matter of personal preference. Experiment with both the ribbon and QAT placements to find which one works better for you.
Insert HTML into email
With your custom Attach File button ready, you can now insert HTML into your Outlook messages effortlessly.
- Create an email. Start composing a new message or reply to an existing one.
- Set HTML format. Switch to the Format Text tab, and in the Format group, select HTML. This ensures your email is formatted to support HTML code.
- Use custom Attach File button. Click the Attach File (paperclip) icon on the Quick Access Toolbar or go to the ribbon group where you've added your custom button and click on it. Remember, it's crucial to use the custom button, not the native Attach File button on the Message tab, as the latter lacks the Insert as Text option.

- Insert HTML file. In the dialog box that opens, select your HTML file. At the bottom-right corner, click the down arrow next to Insert and choose the Insert as Text option.

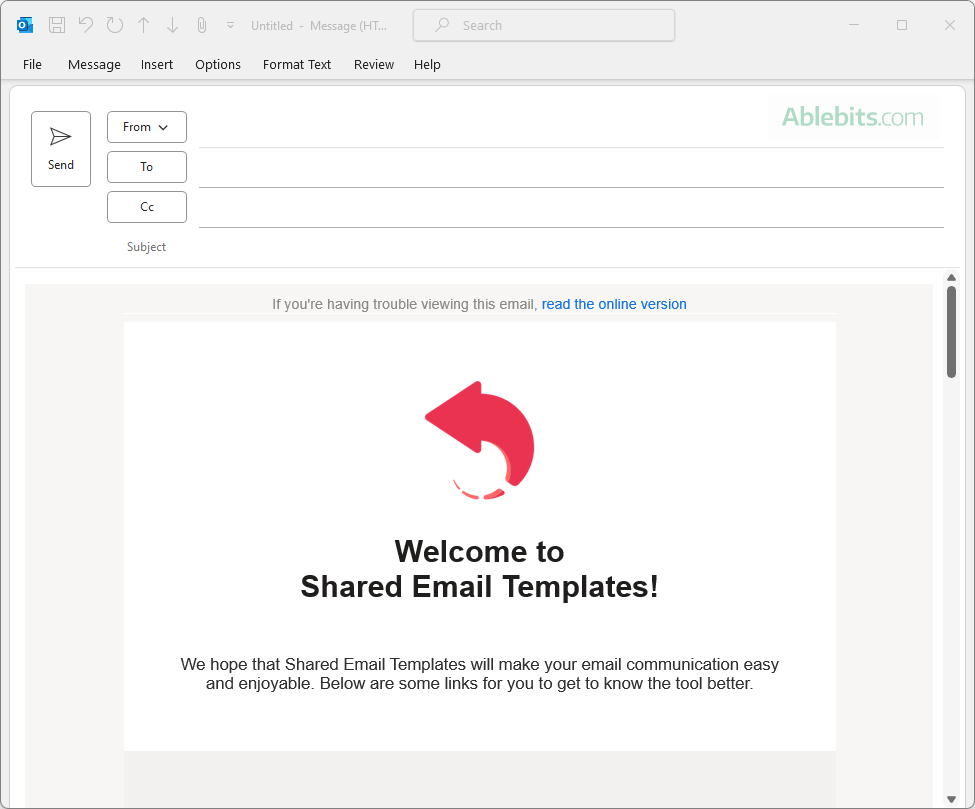
And that's it! Your HTML content is now inserted into the message body, preserving its original formatting and structure. Always review your email to ensure the HTML appears as expected before sending it to your recipients.

Add HTML email template to Outlook
If you've downloaded a nice HTML email template from an online resource or want to save your own HTML as a template in Outlook, you can do that in this way:
- Add HTML to email. Use the custom Attach File button as described previously to embed your HTML content into a message.
- Save email as .oft template. Follow the guide on How to create Outlook email templates to save your message as an .oft template.
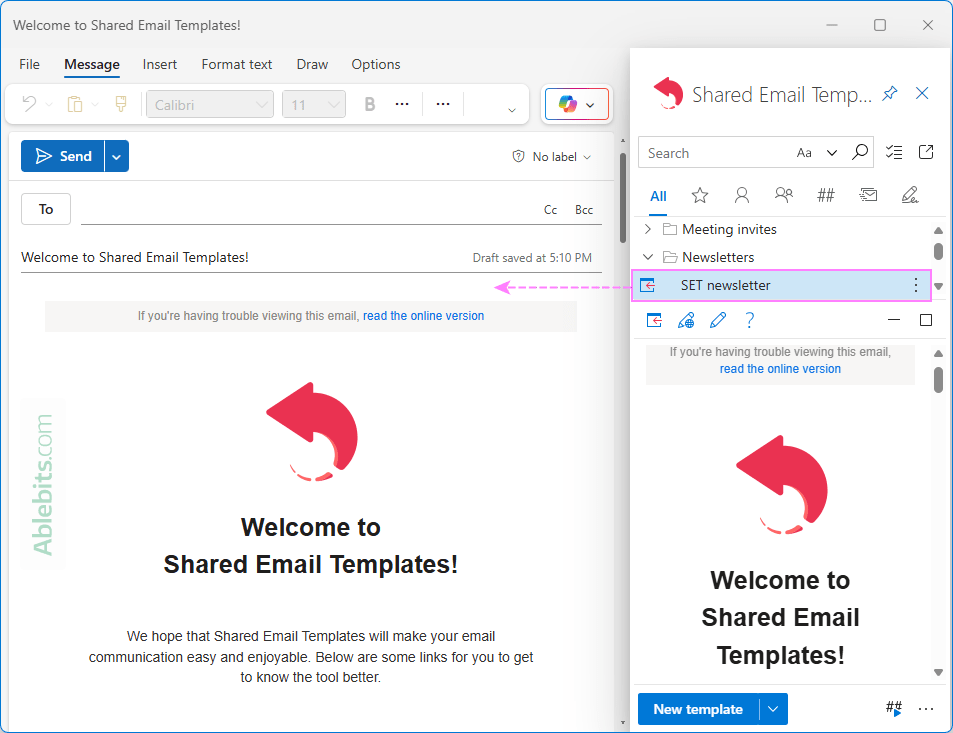
However, accessing .oft templates in Outlook is quite a tedious multi-step process. This can be cumbersome, especially if you send HTML emails frequently. Luckily, there is a faster and more user-friendly solution - Shared Email Templates for Outlook.

The step-by-step process for creating a shared HTML template is described in the above-linked article.
To see it in action, you can download a free trial from Microsoft Marketplace. The plug-in is compatible with all modern Outlook versions and platforms, including Microsoft 365, Outlook 2024 – 2019 on Windows and Mac, desktop and web.
Tips for creating HTML emails in Outlook
When sending HTML emails in Outlook, it's important to account for how messages are rendered across different email clients. The tips below help ensure your HTML displays correctly and consistently.
- Always use inline CSS. Apply styles directly to elements using style="...". External stylesheets are not supported.
- Avoid modern CSS features. Classic Outlook doesn't support modern layout CSS features such as Flexbox and Grid. It does not support modern CSS styling and class selectors either.
- Rely on tables. Although using tables for text layout is considered outdated in modern web design, they're still the most reliable way to create structured layouts in Outlook. Even using DIV can cause layout problems in the classic Outlook app.
- Keep the HTML simple. Avoid complex markup and heavy styling as they can display unpredictably and may increase the chance of triggering spam filters.
- Choose default fonts. Fonts like Arial, Calibri, or Times New Roman render consistently across email clients and web.
- Size images carefully. Set image dimensions using width and height attributes rather than CSS, and keep file sizes small to prevent slow loading.
- Always test your email. The email you send and the one the recipient gets may look different. Send a test message to yourself or a colleague and check how it looks in Outlook and other common email clients before sending it out to real recipients.
Following these guidelines helps create HTML emails that stay readable, consistent, and reliable in all versions of Outlook.
Troubleshooting common HTML issues in Outlook
If you've ever wondered “Why does Outlook ruin my HTML?”, you're not alone. Most display problems come from Outlook's limited HTML and CSS support. Below are the most common issues and how to fix them.
- CSS not applying. Move styles inline and avoid advanced selectors or modern layout CSS. Outlook ignores many CSS rules that work fine in browsers.
- Spacing looks off. Use table padding instead of margins. Outlook handles padding much more predictably, while margins can collapse or disappear.
- Images not showing. Host images on secure (https) servers, use absolute URLs, and always set explicit width and height attributes.
- Fonts change unexpectedly. Stick to default fonts like Arial, Verdana, or Tahoma. If you use some fancy font, always define fallback fonts in case the primary one isn't available.
- Copying and pasting breaks the layout. Avoid pasting the content directly into a message. Use an insertion method that preserves the full HTML structure, such as inserting an .html file as text or saving a received email as a template.
These checks usually solve most Outlook HTML issues and prevent formatting surprises.
In conclusion, creating HTML messages in Outlook is a bit tricky, but with the right approach, it can be done efficiently. So, start simple, experiment, refine your designs, and watch your emails leave a lasting impression on your recipients 😊
 by
by
7 comments
Does not work as in my Outlook 2024 the extra biutton 'Insert as Text' does not show up.
Thank you, Microshit!
Hello!
If you are using classic (legacy) Outlook, you can add this button as described in the section "Add Attach File button to Outlook ribbon". For new Outlook, this method won't work. If you use the new Outlook, you can try a third-party add-in recommended in the comment below. To check whether you use the classic or new app, have a look at the New Outlook switch in the upper-right corner.
For anybody still having issues, I found the solution for the new Outlook app. Click "•••" on the toolbar and from the drop-down, select "Get Add-Ins". A window will open with all available add-ins. In the search bar, search for "HTML". The first option (at least for me) should be "Insert HTML by Designmodo" > click "Add". Then, when composing a new message, click "Insert HTML by Designmodo" from the toolbar (should be added by default) and paste in your HTML.
Just as Jenna I am on outlook 2025, While accessing the customize quick access menu, the option to attach a file (as html) is not available.
Hello Lennert,
Jenna says she does not have the Customize Quick Access Toolbar menu option itself, which most likely means she is using the new Outlook app. If you have this option in your Outlook, then please follow the steps from the "Add Attach File button to Quick Access Toolbar" section to add the Attach file command.
There is not right clicking on the ribbon in 2025. You do not get a menu that says, "Customize quick access...." At least I am not. I will have to continue to search for an answer to embedding HTML code into email, outlook.
Hello Jenna,
Which Outlook app are you using: classic or new? The instructions in this tutorial are for classic (old) Outlook. The current version of Outlook 365 (desktop app) still has the Customize Quick Access Toolbar option when right-clicking the Quick Access Toolbar (not the ribbon!). Alternatively, you can click the Customize Quick Access Toolbar button (down arrow), and then click More Commands.